Fully 3D Printed Phone Mount for Bike + Files
I went on a relatively long bike ride with some of my friends today (6/3/21). We decided that we wanted to go to the Bay Lands area. Since none of us had been there before, I volunteered to do the navigation. My navigation setup, while high-tech, wasn't the most optimal, and therefore safe method. I had set the navigation up on my phone, have the maps app open on my watch, and have navigation audio on my ear buds. Given the fact that my intent is to talk with friends, having something in my ear is definitely not ideal.
Ideation
The easiest solution to the problems that I have mentioned above is designing and 3D printing a phone mount for my bike. This way, I don't have to wait 2-5 days for some absurdly expensive piece of plastic.
Rather than start designing, I first looked through Thingiverse and PrusaPrinters for good designs. After looking for a while, I didn't find anything that really caught my eye. So I decided to make it myself.
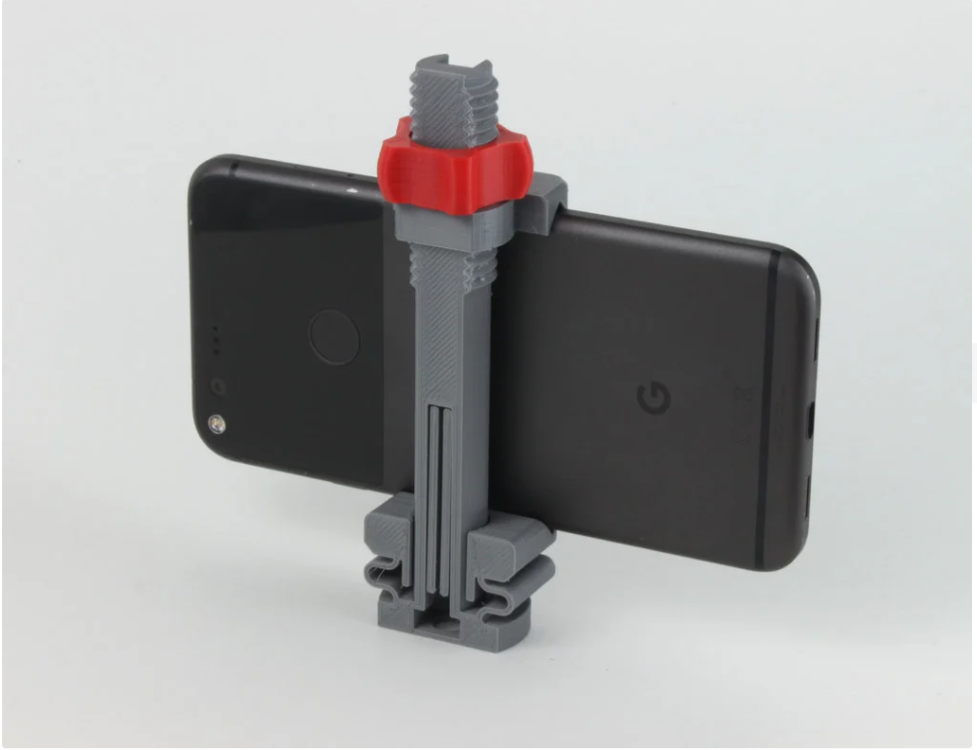
Instead of making some complex slider mechanism, I used a Phone Tripod Mount that I have printed before. I really like the clamping mechanism that this design uses, and decided to make this the base of my design. Why reinvent the wheel?
Optimizing Phone Holder
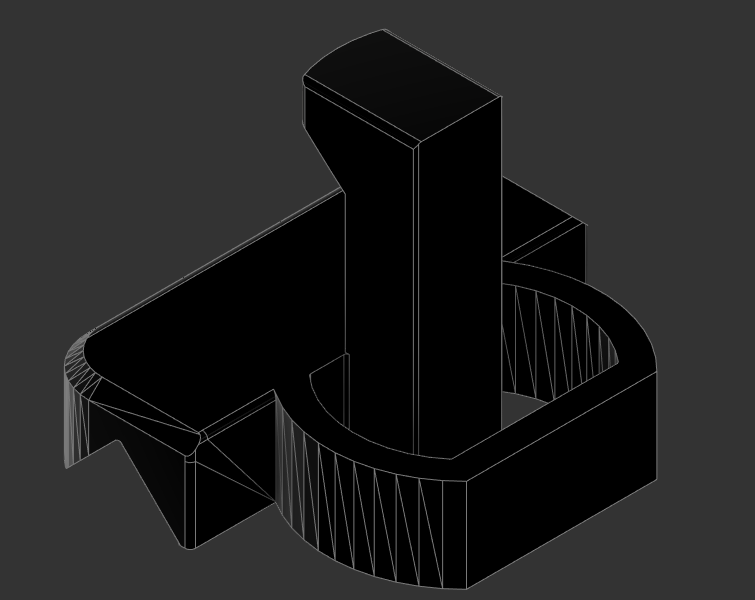
I started by importing the STL file into Fusion 360 and converting it, which is a extremely tedious and boring process, to a BREP. This makes it much easier to work with and edit. I started with the base as this was the most critical part. I decided that I would effectively add vertical shaft near the center of mass to accomodate a bolt and nut.
I then spent too much time adding fillets to make the part stronger.

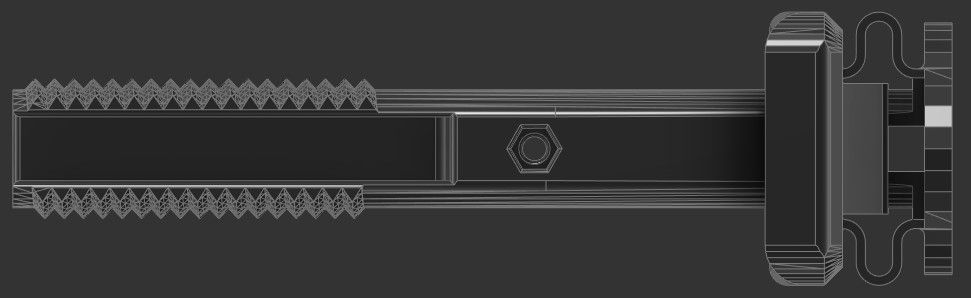
Once these essential tweaks were made, I added the hole for the bolt. The bolt is going to be added from the bottom (through the clamp that holds this to the bike) and into this phone clamp. To do this, I made a clearance hole, and a hexagon shaped hole for the nut. This was crucial to get tight, as the plastic will be serving as the "wrench".
After realizing that I was working in CM and scaling the model down by a factor of 10:1. I started working on the other parts.
The knob was fine the way it is, so I just left that alone
For the slider, I just added some fillets for strength and looks
Bike Clamp
The clamp was the hardest part to design, probably because I was making it from scratch unlike everything else.
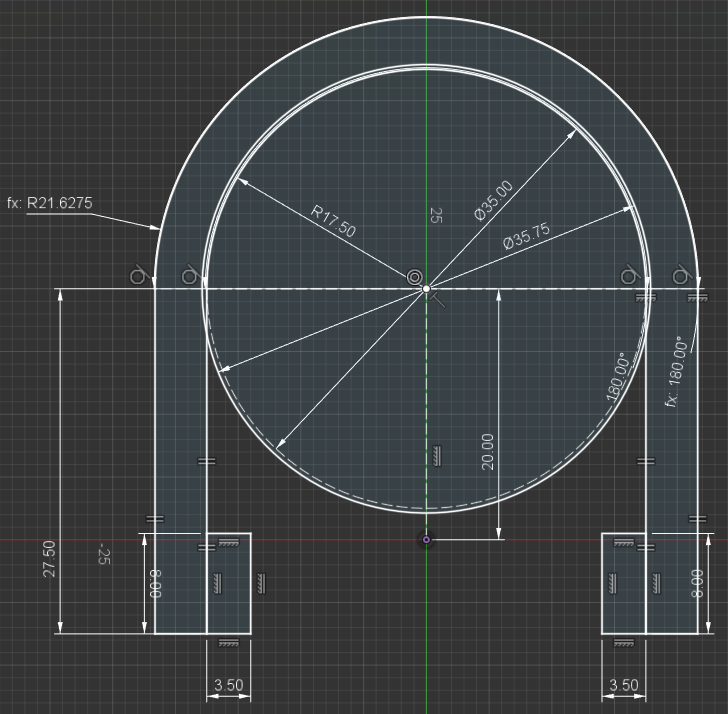
I started by sketching the rough shape. I had considered a lot of mounting methods, I settled on a modified hose clamp as it seemed the easiest and most reliable to implement. Additionally, making changes would be quite simple based on the diameter of the attachment point.
The sketch below, and for that matter the clamp in general, was designed to fit around a 35mm "tube".
After adding a surface for the phone clamp to attach to, I was left with a shape like this:
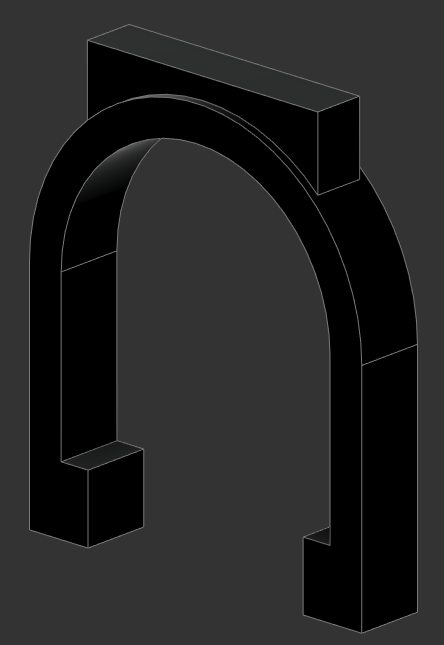
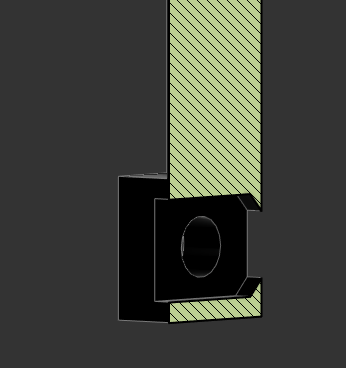
I added the hole at the top for the bolt to go through, this would be for the same bolt as the one in the Phone Holder.
With that done, I started adding the actual clamping mechanism. By designing this to be printed on its end, the direction of the layer would not compromised the integrity of the lock. This is a fundamental concern that all designers should keep in mind when designing for most additive manufacturing processes, the exception being DMLS (direct metal laser sintering), although those parts are often baked, to a similar effect as annealing, which helps further bond the layer together.
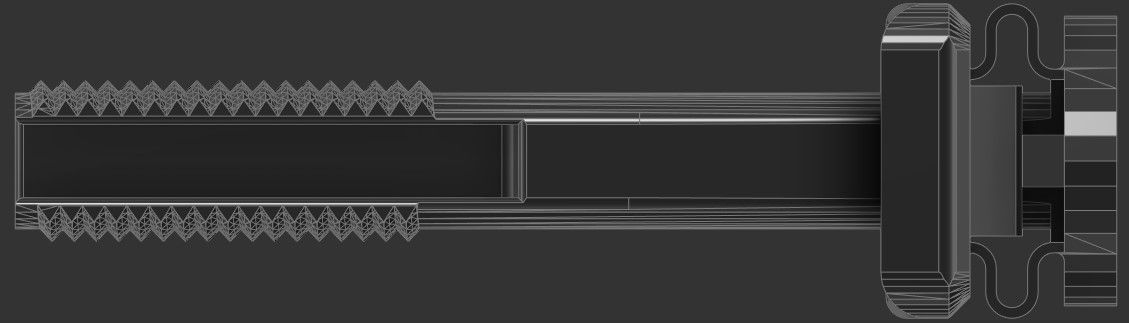
First, I added a space for the bolt to go.
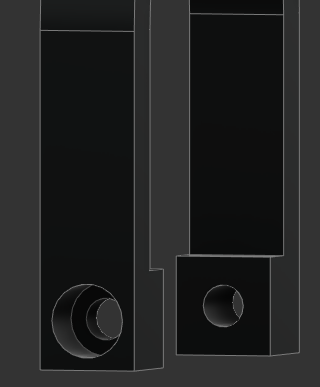
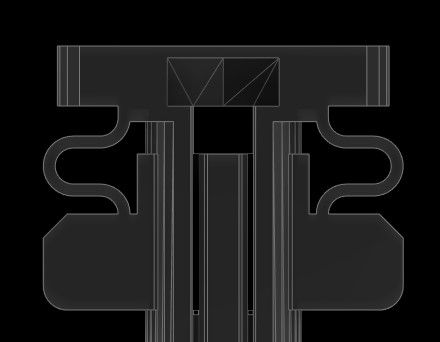
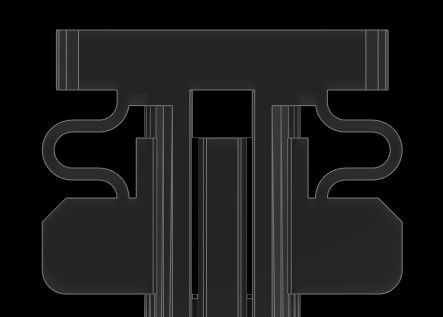
Next I added a slot for the nut to go into. Rather than having a hexagon shape, I made a receptacle for the nut to into. This would mean that the nut won't as easily fall out, and that I can just use a piece of electrical tape to completely eliminate the risk. Here is a section of the internal structure that keeps the bolt:
The only additional hardware needed with this design are the following:
- M3 x 15 MM
- M3 x 35MM (30 works)
- Two M3 Nuts
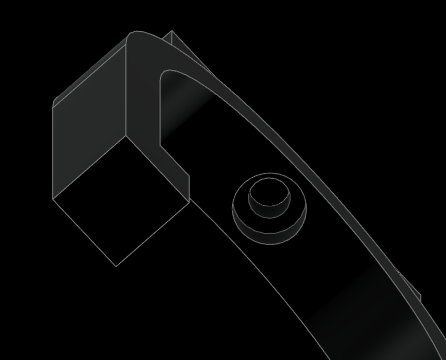
With that, I went ham on the fillets. This makes the design look a lot cooler and stronger, as there aren't any hard edges to take impact or start a crack on. I also made a parameter for tolerances that way iteration, if necessary, is much easier.
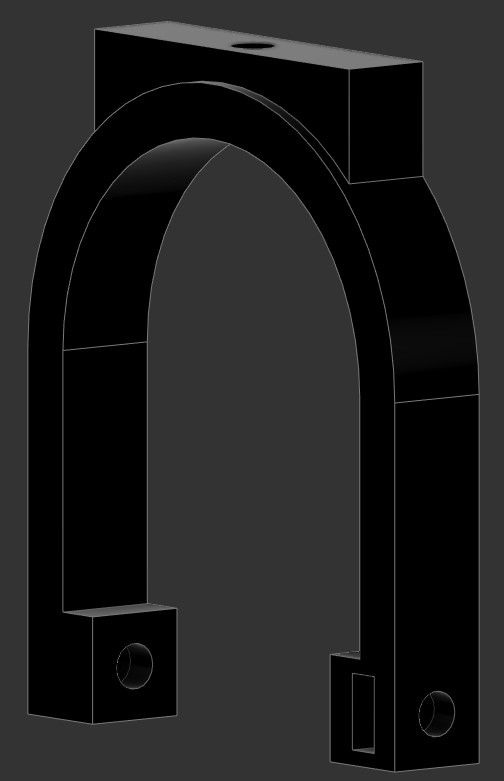
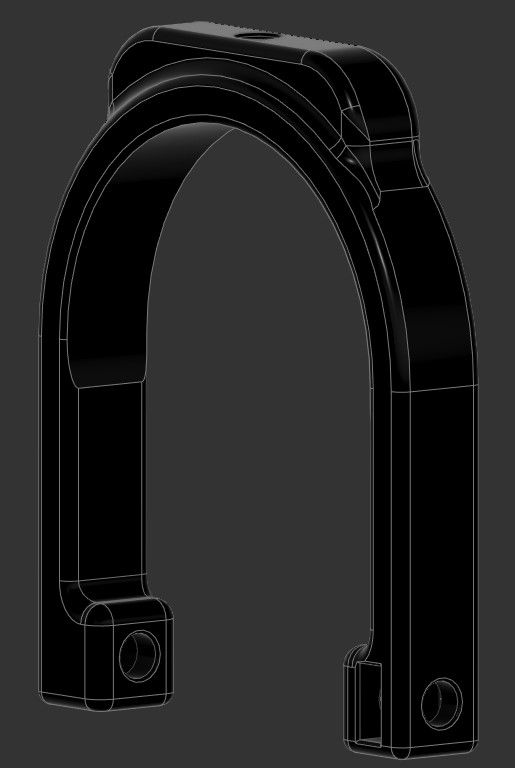
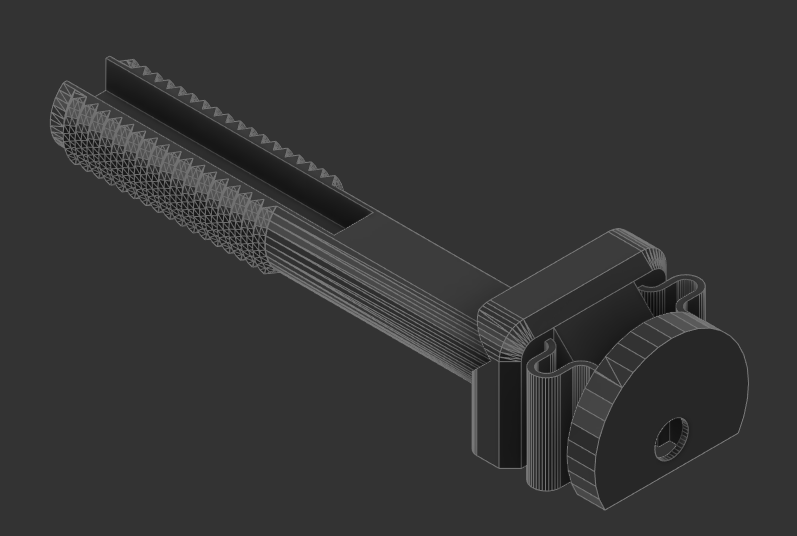
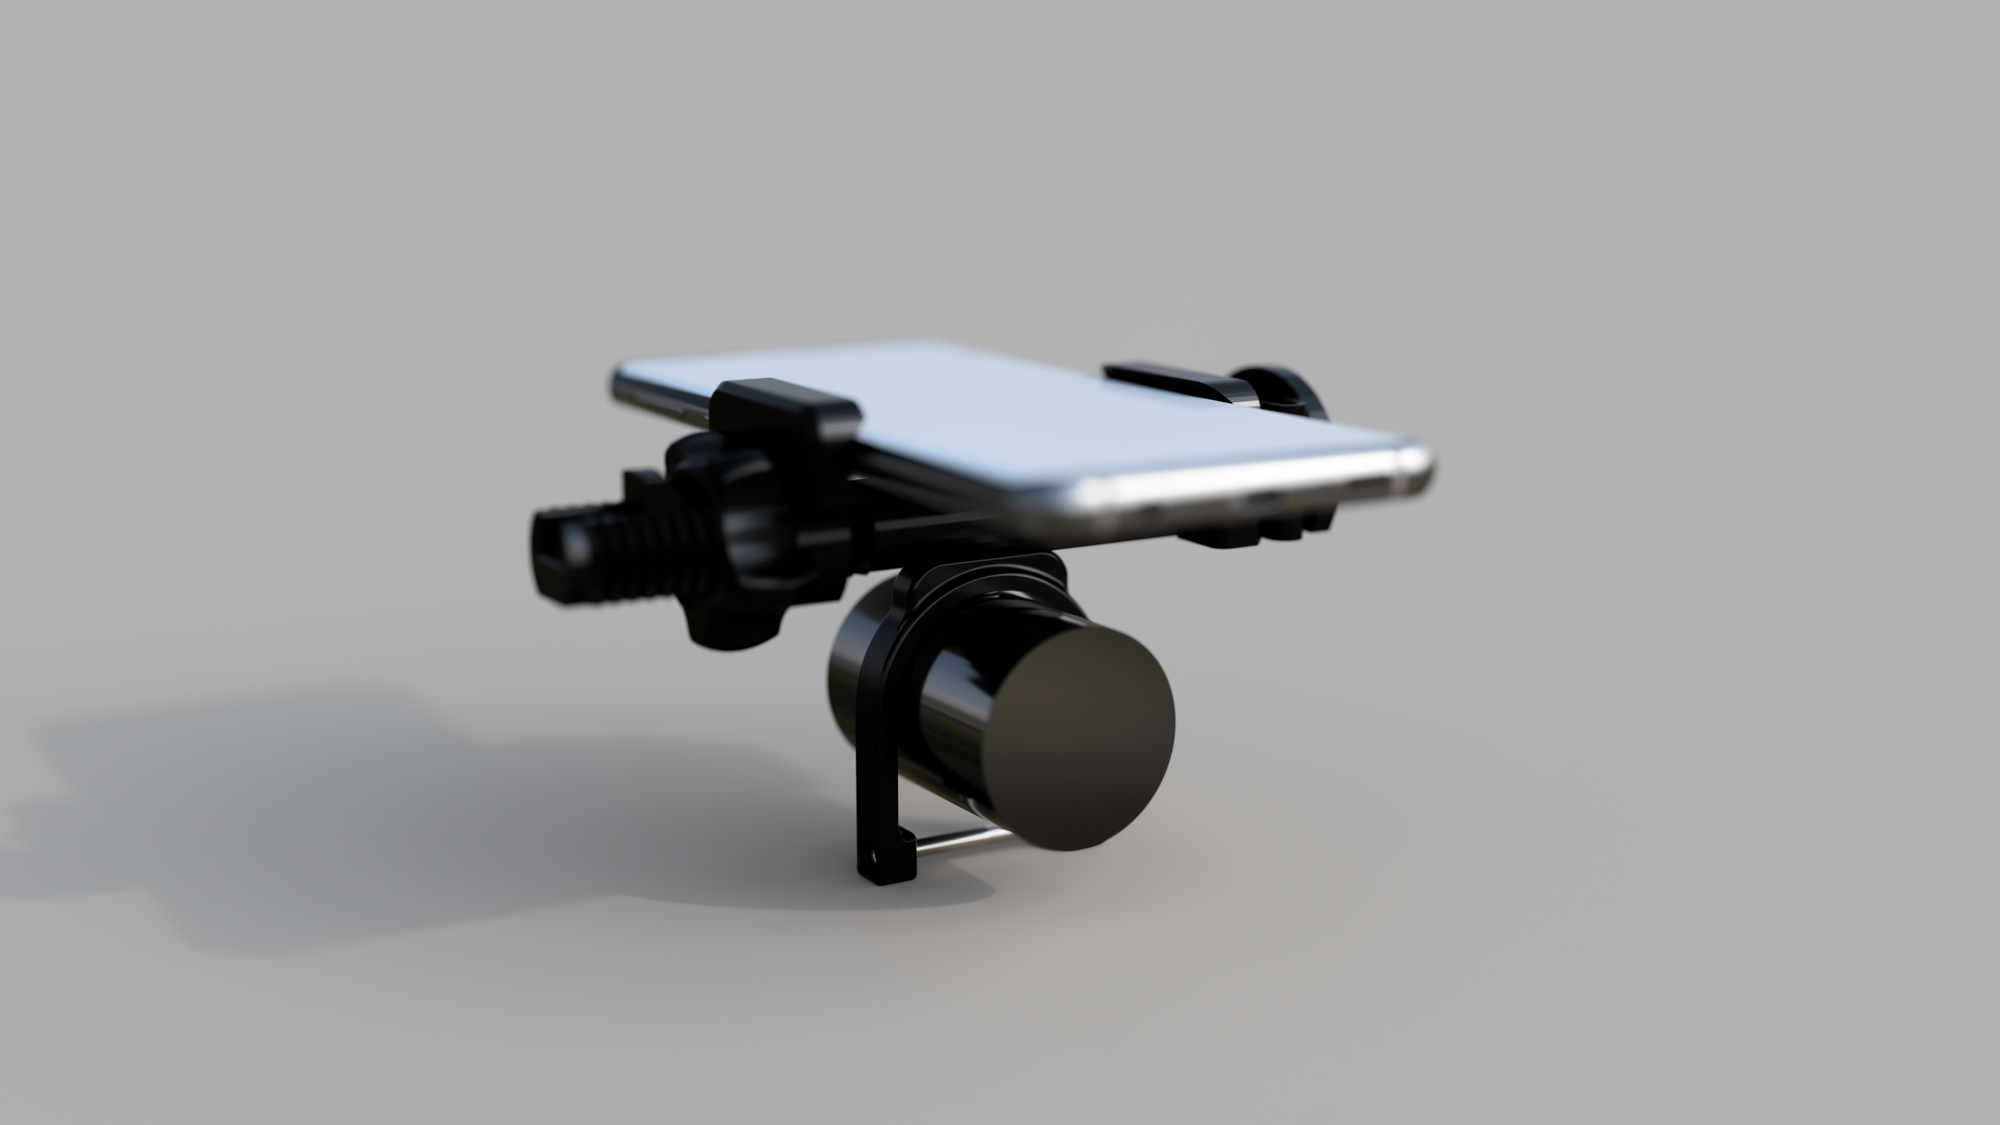
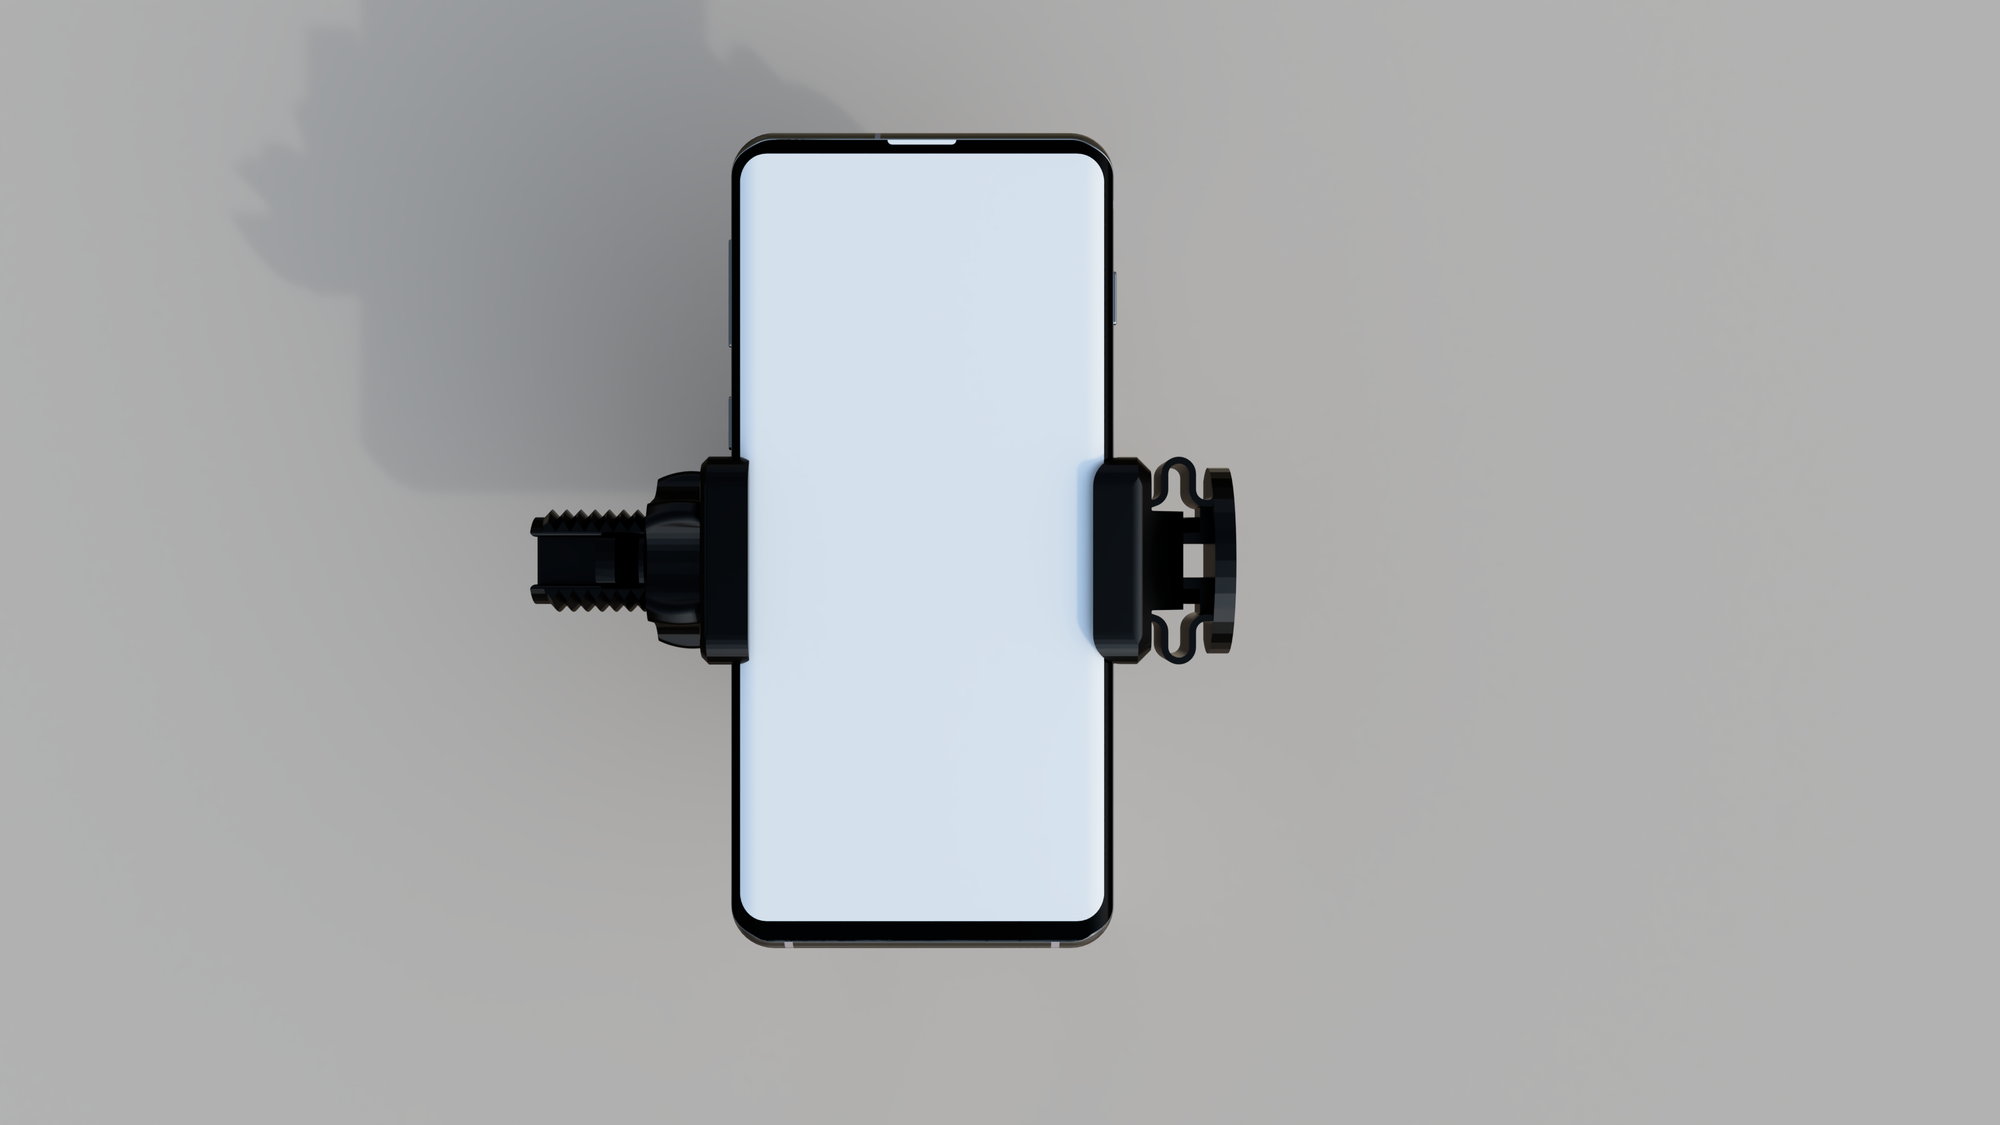
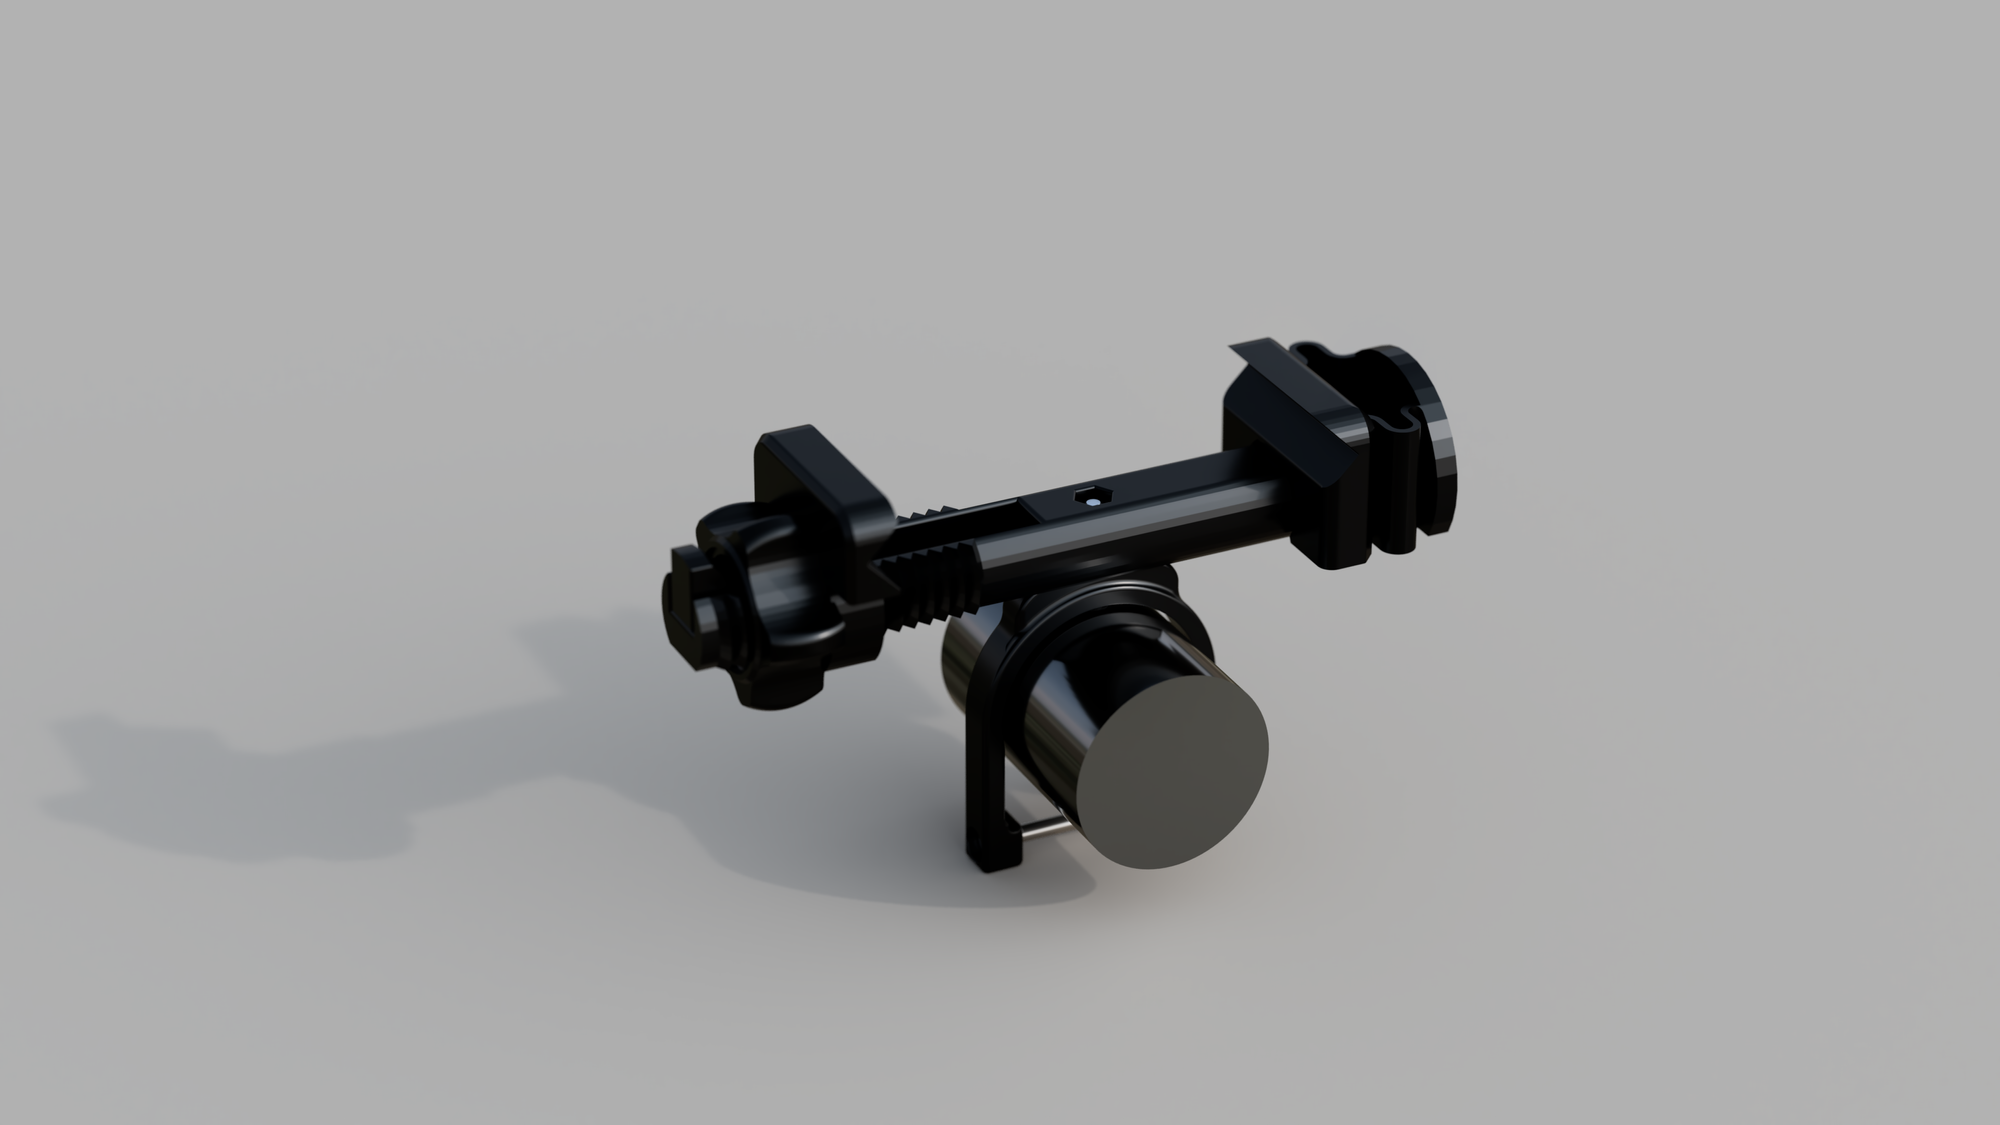
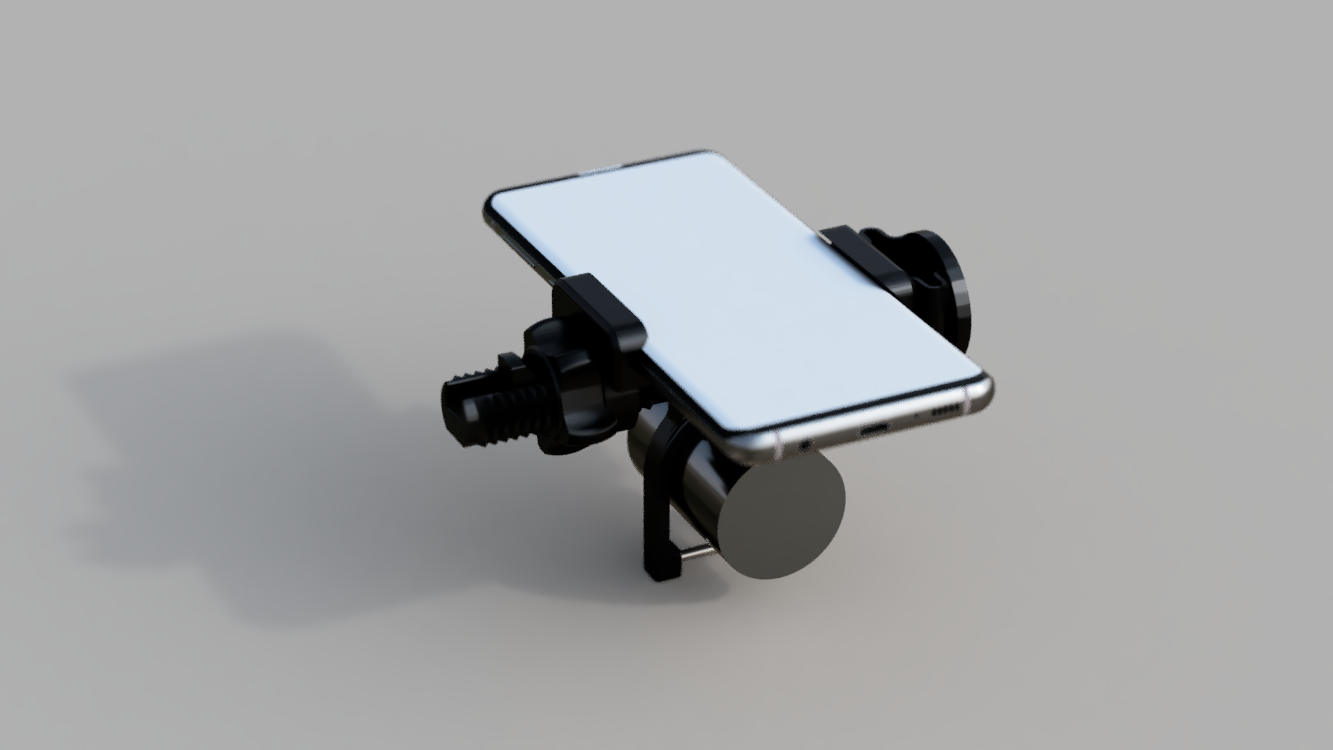
Render
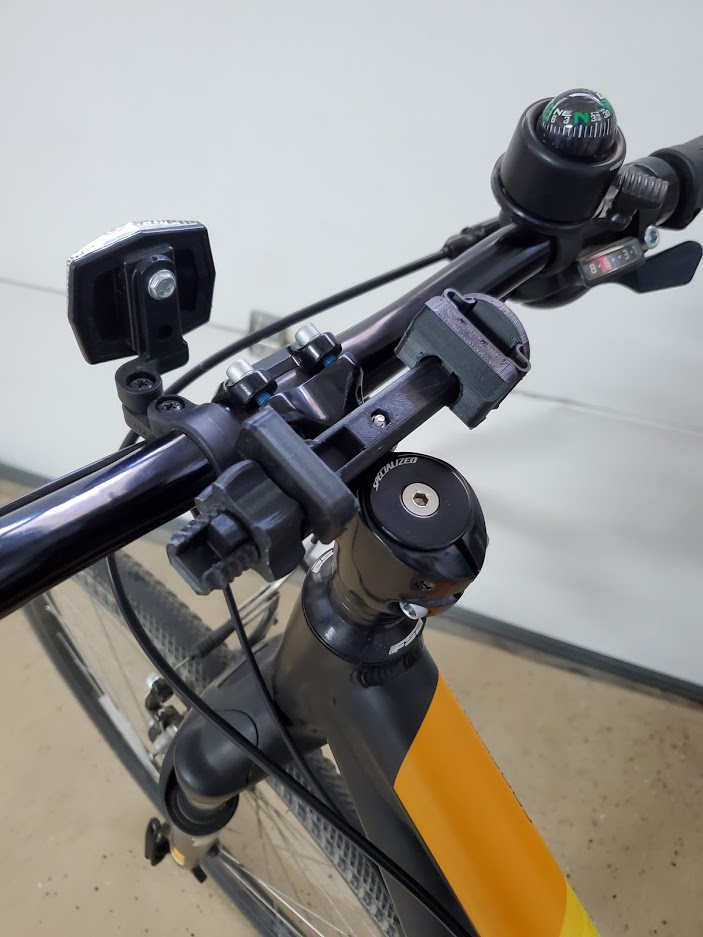
To cap it all off, since I did decide to publish the design on PrusaPrinters and Thingiverse, I made a few renders. I have attached some of my favorites below. In addition, the printed and installed design. Finally, the design files are below that.
Installed!