Astrophotography 2020 - Covid Edition
Written between Jul 22-26, 2020
Ah yes, Coronavirus, on a mission to restrict our summers... Here’s everything that I can remember happening: Bushfires, Kobe, Covid-19, Trump’s Impeachment, BLM, Stock Market... I probably forgot a bunch of stuff, but whatever; I sincerely hope the worst is behind us.
Last year, I went up to Henry M. Coe State Park to capture the milky way, this time I want to up my game, raise the bar. This year, just around the same time as the Milky Way will be primed to be shot another phenomena will be visible, C/2020 F3 (colloquially known as NEOWISE, named after a mission by the Wide-field Infrared Survey Explorer (WISE) space telescope). Of the many comets that are projected to be visible, NEOWISE is one of the few that will actually reach Earth and be visible, at least until it sees the appalling state of humanity and decides to get as far away as possible. Until that day comes, which should be by the end of the month, I have the enticing opportunity to paint both the Milky Way and NEOWISE on my camera’s sensor.
My methodology for finding a place to take photos hasn’t really changed, but I have added a few things for particularly NEOWISE:
Location must not be crowded - Social Distancing y’all!_(Edit: Given the popularity, I guess this is an unavoidable reality, all we can hope to do is stay clear from others and arrive early. _- Location/Timing must have both NEOWISE and the Milky Way visible - 1 trip is better than 2, also traffic might be an issue.
- Distance from home - Due to COVID mandates, we shouldn’t be travelling too far.
- Skytracker w/ NEOWISE - Milky Way can easily be identified by the teapot (Sagittarius), NEOWISE?, not so much.
- MASKS & Food
I decided to go to the Silicon Valley Vista Point, which is near Russian ridge on Skyline Blvd. The amount of people here was crazy! I did not expect this many people to be here, given the state of the world. Luckily, we found a place near the entrance of a prominent hiking trail that had a pristine view of both NEOWISE and the Milky Way. You wanna take a photo of NEOWISE? Look up; You wanna take a photo of the Milky Way? Turn around.
I did not expect NEOWISE to be as small as it was, I could barely see it. With a decent camera, it was much easier to spot. This is a photo that shows NEOWISE, it is right below a star in the center, it almost looks like a star.
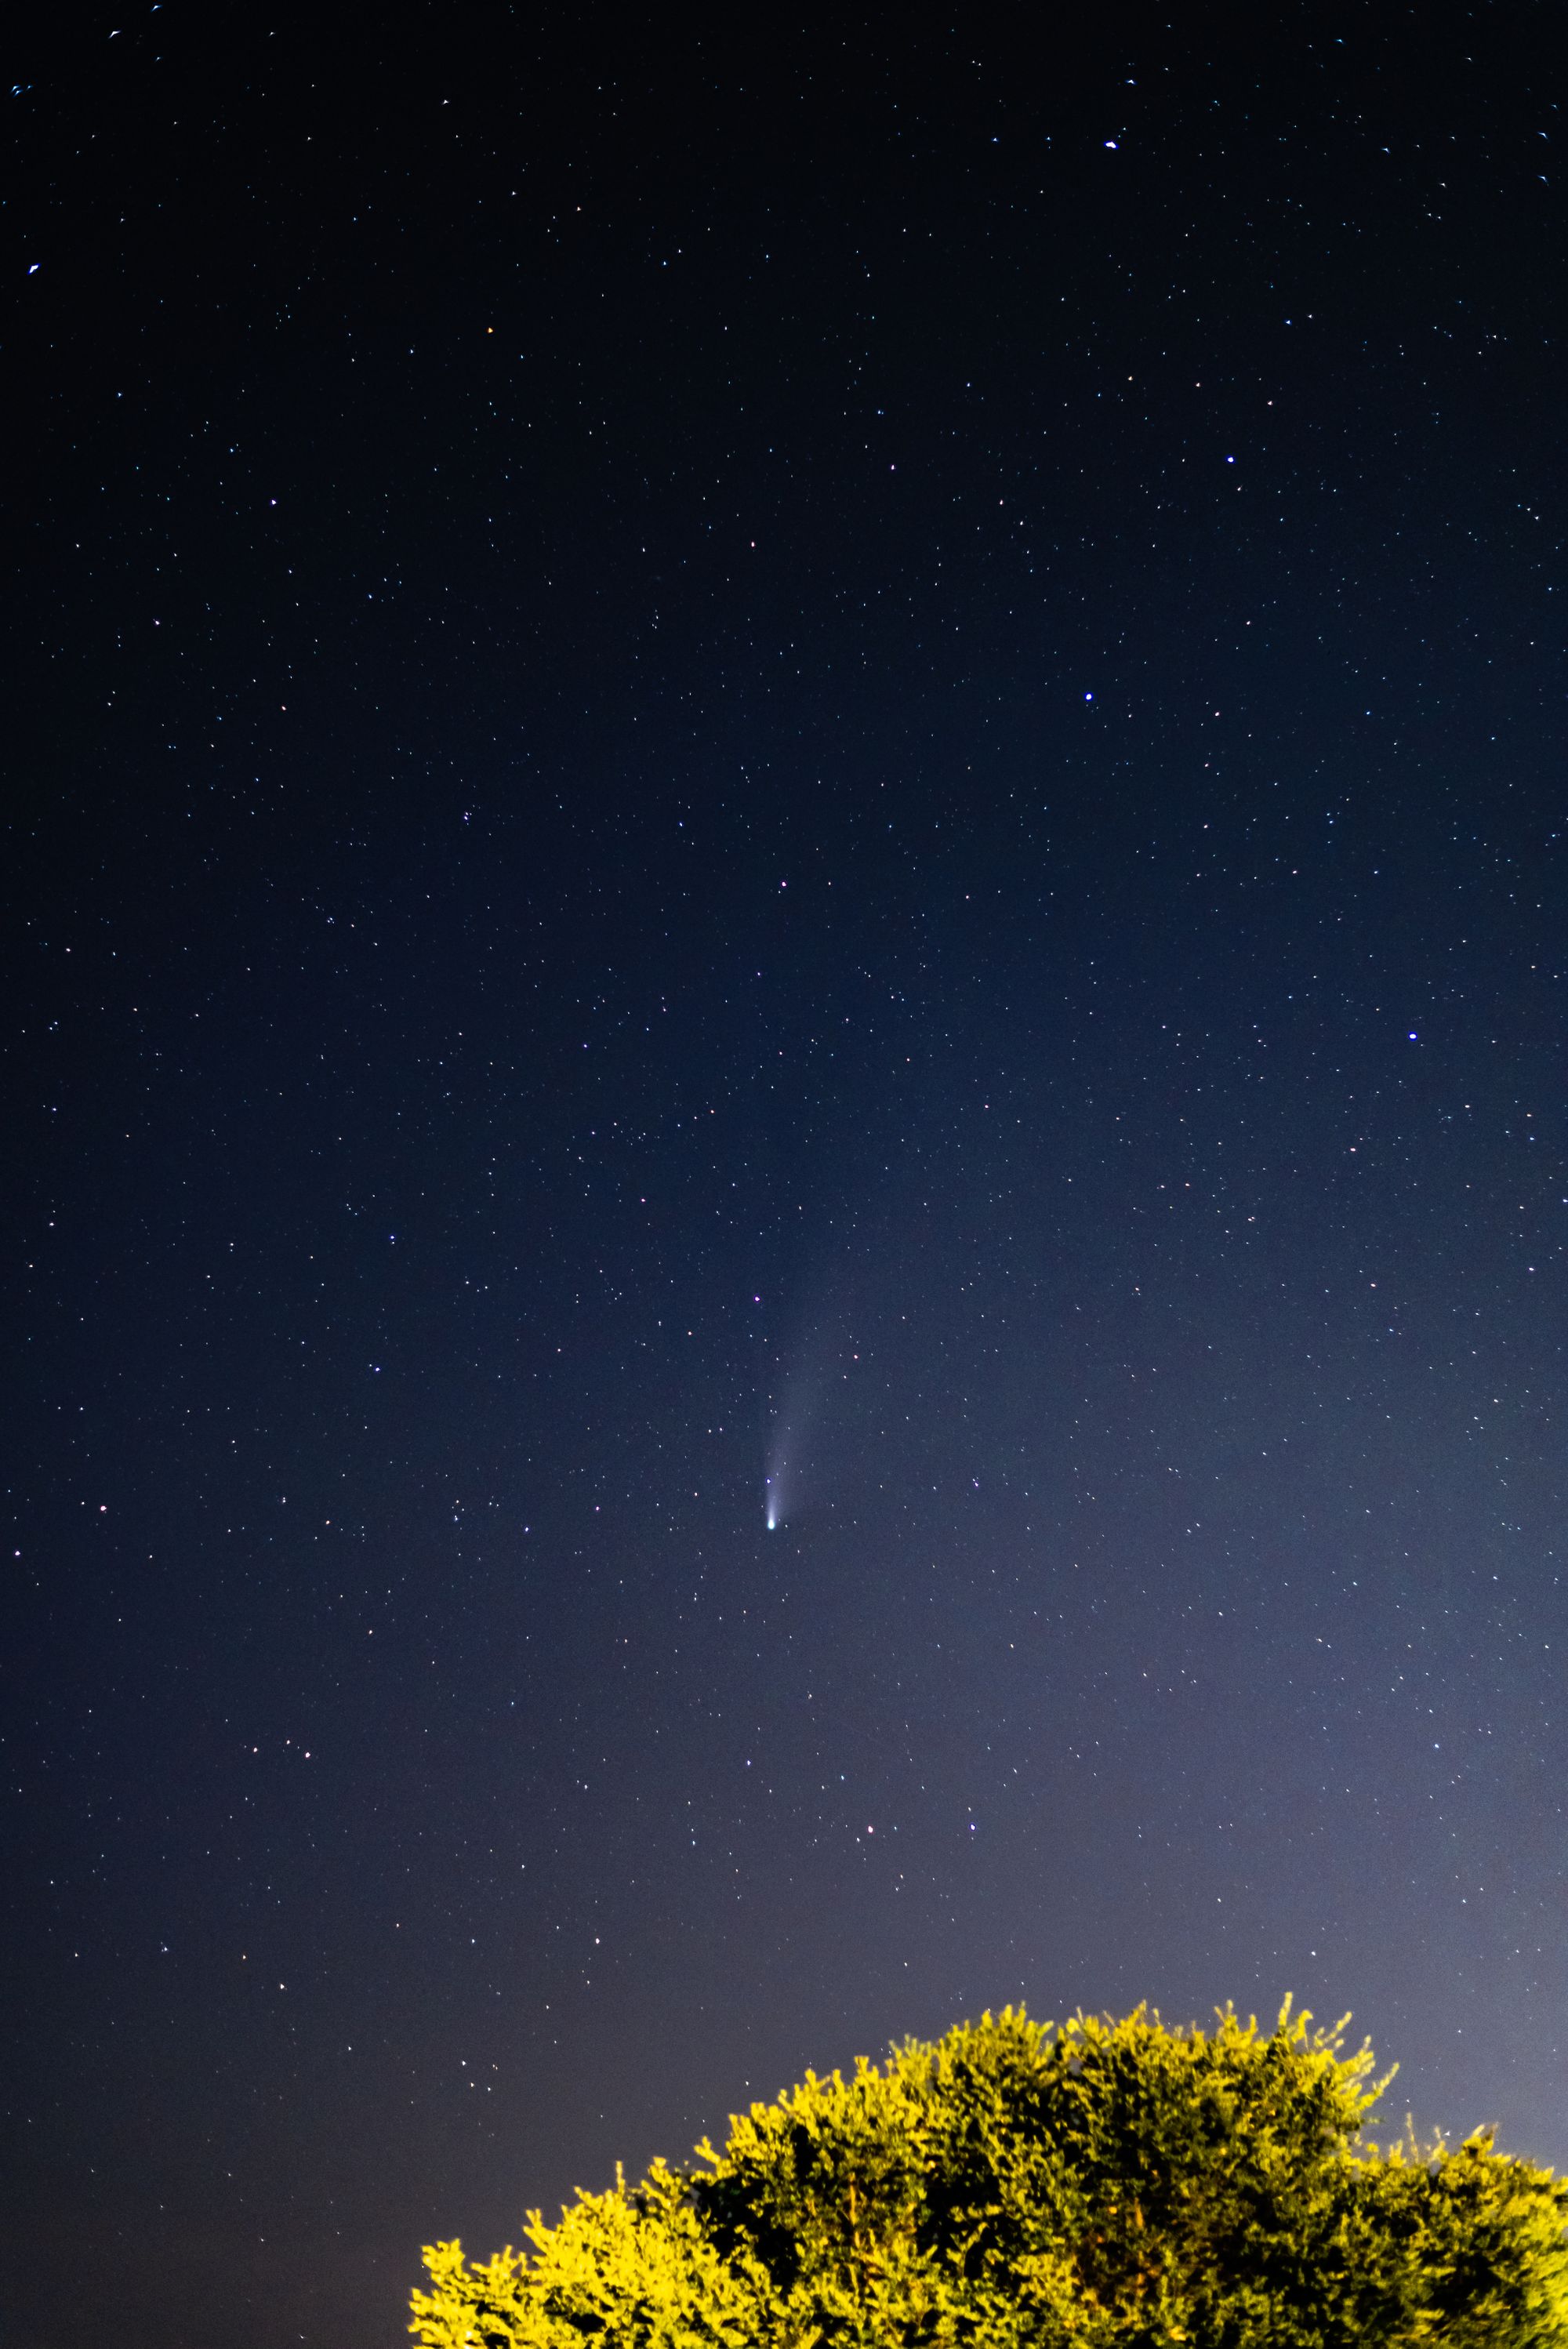
I realized that taking photos of NEOWISE would mean that I need much better equipment that I already have, this would also be quite expensive. Given the circumstances, I’m still happy with the photo that I got.
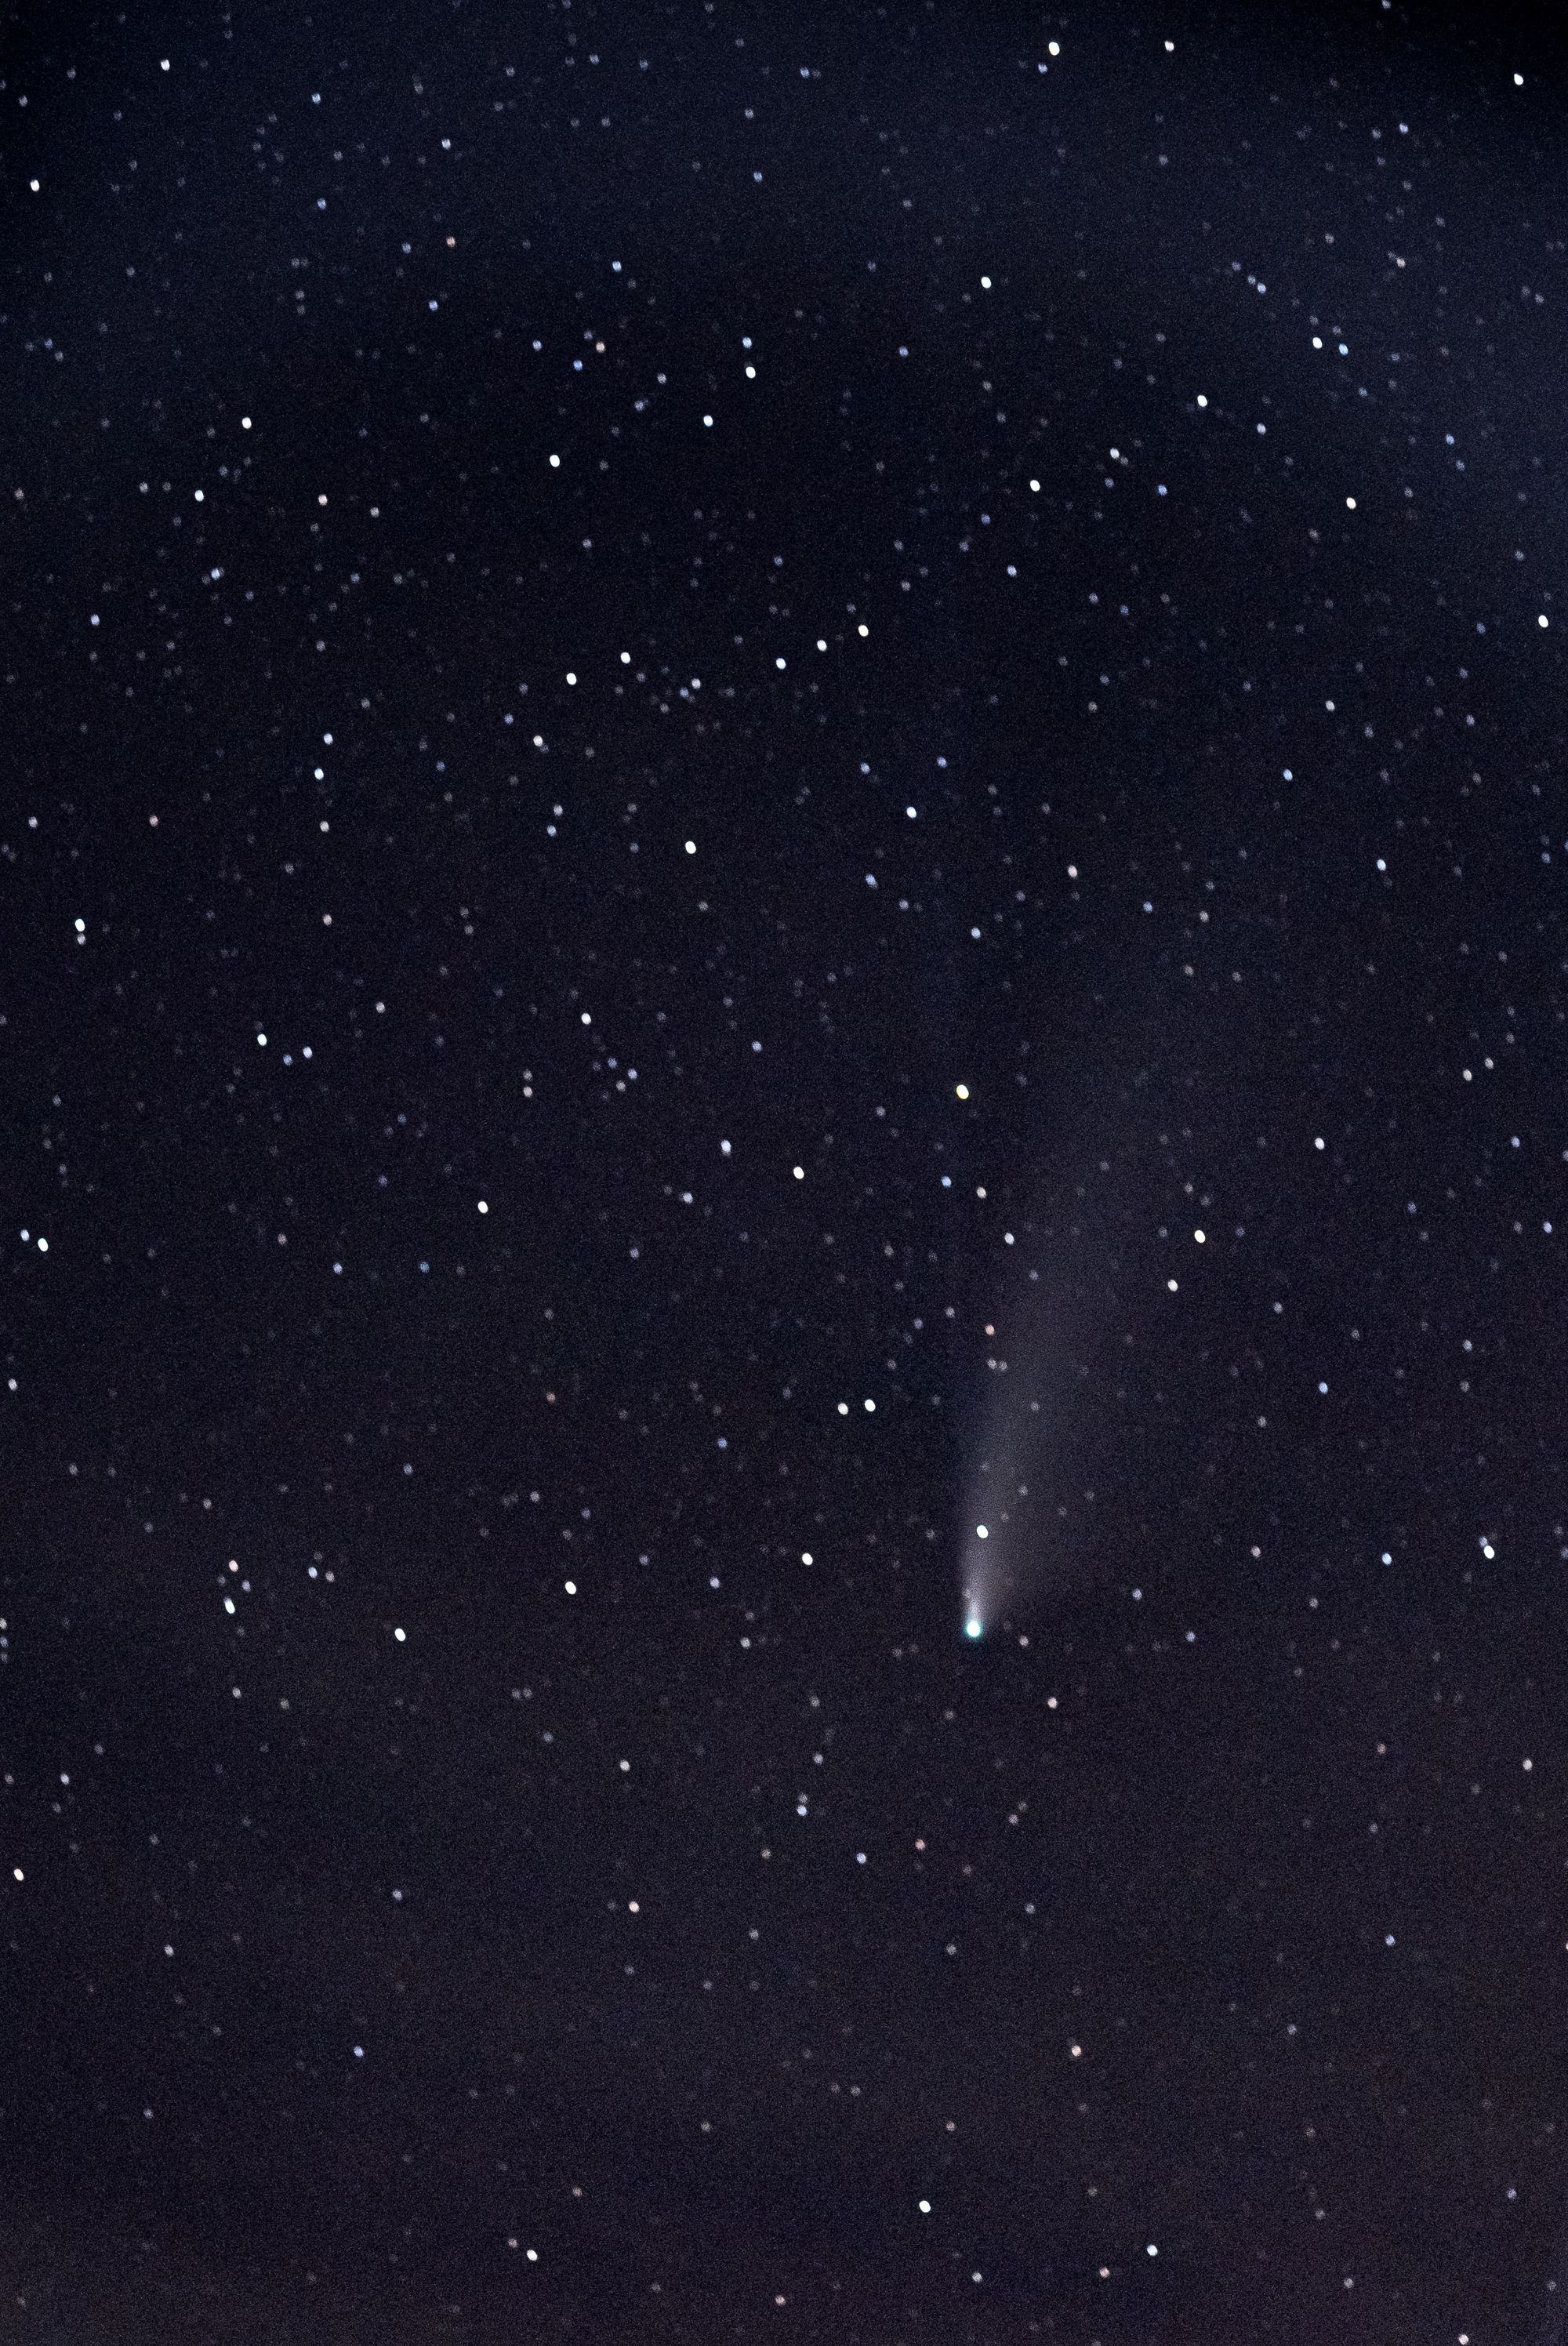
Here is just NEOWISE:
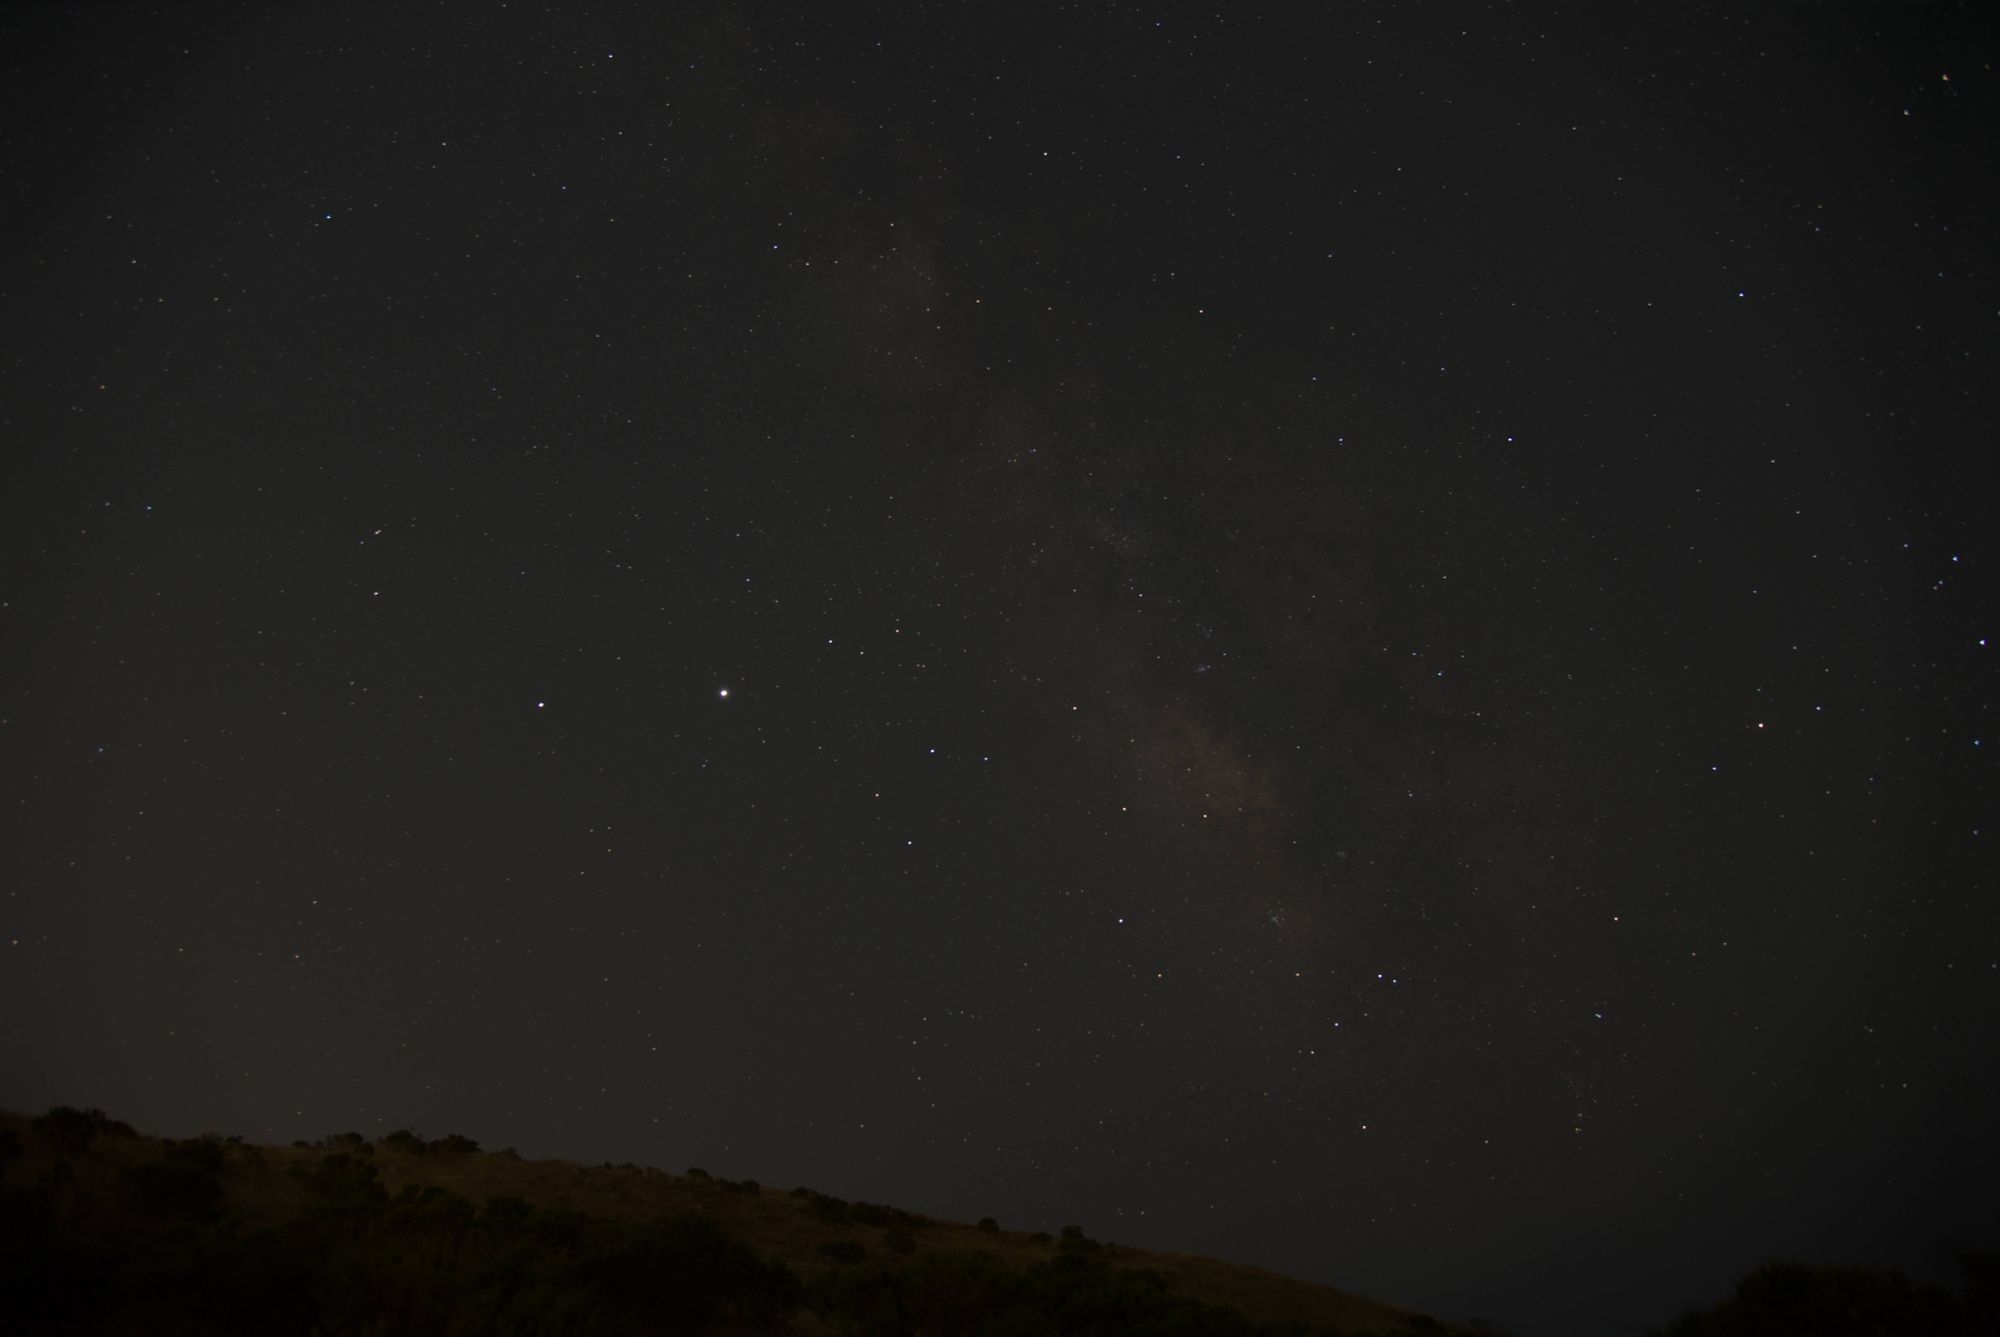
Now was my time to shine, time to take photos of the Milky Way. Rather than going for long exposures and multiple different shots, I decided to take as many photos in the same position as possible. I also reduced the exposure as I am going to try image stacking. The images that came out of the sensor were really dull, but I kept on going. Here is one of the unedited photos:
After taking the photos, we went back home and now it was my turn to edit the photos.
Last time I only used Lightroom for the image editing and then Photoshop for any other changes that I wanted to make (ie: stitching). This time I downloaded the free software, Sequator, and started playing around with the settings. I imported the images in Lightroom and started playing around with the settings, like I did last time; also like last time, the resulting image was quite similar.
After doing this, I took all the images that matched in composition. I made a “stack” of these images and imported them into Sequator. I realized that I needed a bunch of “noise images”, these are used (presumably) to teach the software how my camera creates noise and looks for patterns. From these images, it can then apply an “inverse-noise” filter. I think this works extremely well compared to other noise removal techniques, other filters do remove noise, but end up removing a lot of stellar data in the process; this method doesn’t do that. I then started going through the rest of the settings, here is what they do (to my knowledge):
- Base Image/Star Image - The images to be stacked
- I had 14 of these
- Noise Images - Used to intelligently remove noise w/out removing stellar data.
- I had 6 of these
- Vignetting Images - Like noise images, reduces vignetting
- I didn’t use this
- Output - File to output to, whenever I changed a setting, I would “render” a file w/ a different name
- I used .tif for lossless quality
- Composition - How to stack the images
- I used the freeze ground as I wanted the foreground to remain sharp, this meant I had to mask the foreground using a brush.
- Sky Region - How to process the sky
- I used irregular mask, this allowed me to specify the sky using a brush
- Auto Brightness - Do some editing for me, change the brightness
- I left this unchecked as I am going to post process
- High dynamic range (HDR) - This makes the image pitch black, but preserves a ton of info
- This is the secret sauce, it gives a ton of depth to Lightroom to work with
- Reduce dynamic noises - Hot Pixel reduction
- I did a few w/ this and a few without, a subtle change
- Reduce distortion effects - Reduce smearing
- I left this enabled with the complex setting, I wasn’t using a telescope lens.
- Reduce light pollution - Witchcraft; Amazing; What?!?! - This removes most of the light pollution, giving the image a ton of depth.
- This worked wonders as i assigned a sky region, it made the sky black rather than a washed out grey.
- I used the “I.A.A.” option, according to the website this, “analyzes the color tone of light pollution, and try to find polluted foreground regions, reserve more foreground details.”
- Enhance star light - Does what it says, does it well, what more could you ask for?
- Works well due to the mask for the sky, adds vivid depth to the stars
- Merge pixels & Time-lapse - I find these superfluous (Disabled)
- Color Space - sRGB
- My monitor isn’t accurate enough for Adobe RGB
Whew! That was a lot of settings! The output image weighed an impressive ~300 MB. I wasn’t expecting much from the image stacking. I expected something on the order of what a “water connoisseur” would say about different types of water; I expected something that’s basically imperceptible and for the 100 people who can appreciate it, good for you! Oh boy was I wrong!
Immediately when I moved the slider I noticed a HUGE amount of detail that I never thought possible! WHY hadn’t I thought of this before?! After doing my editing for the images (I covered my “methodology” last year, it remained pretty much the same), I showed the image to a few others, like myself, they were having a hard time believing that I took these pictures.
Without any further ado, here are the photos that I took!
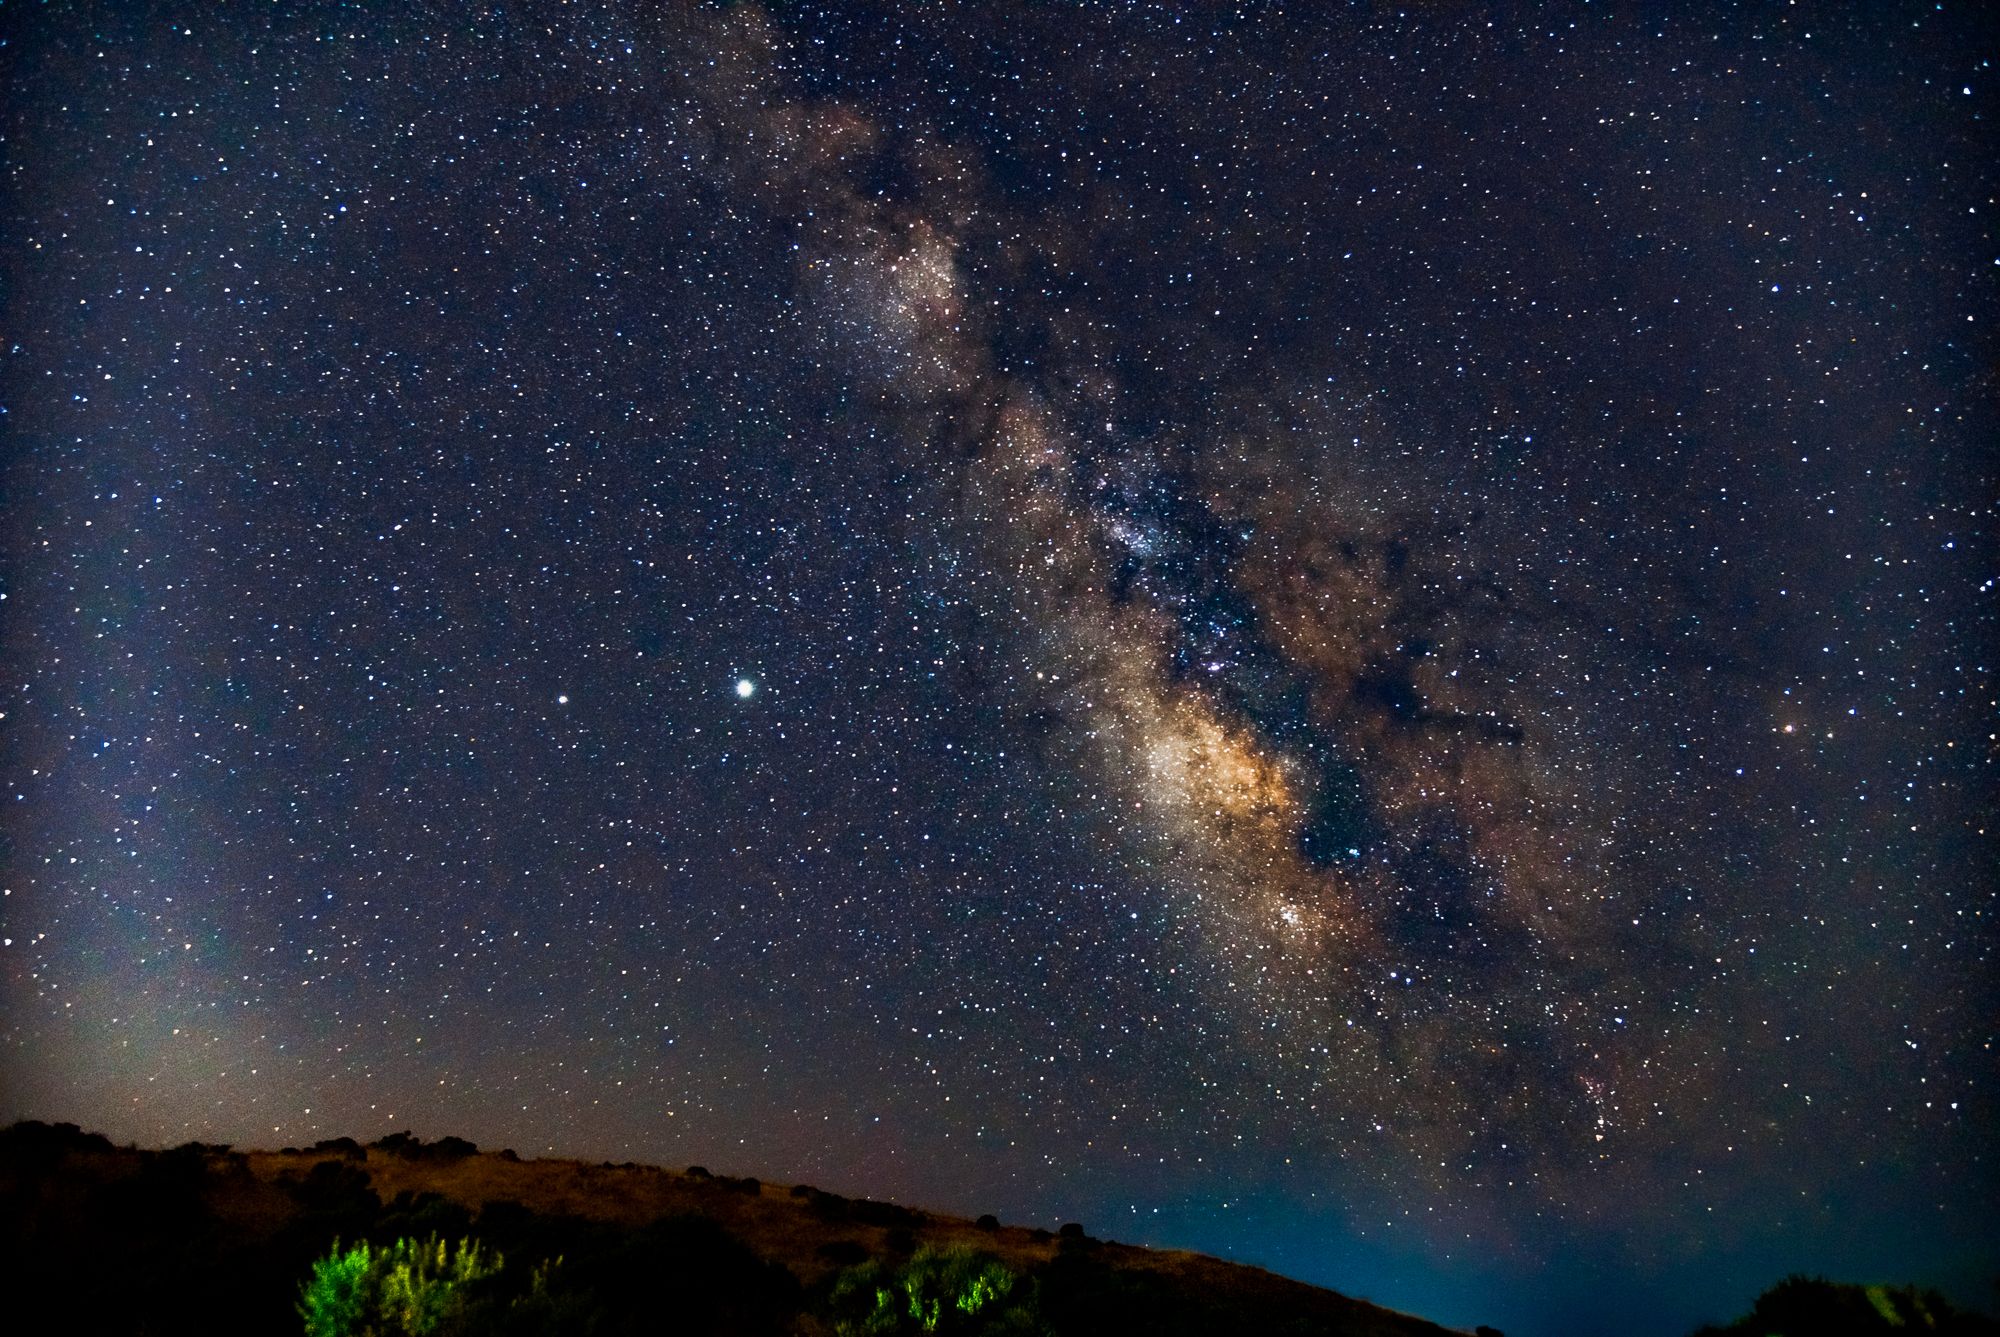
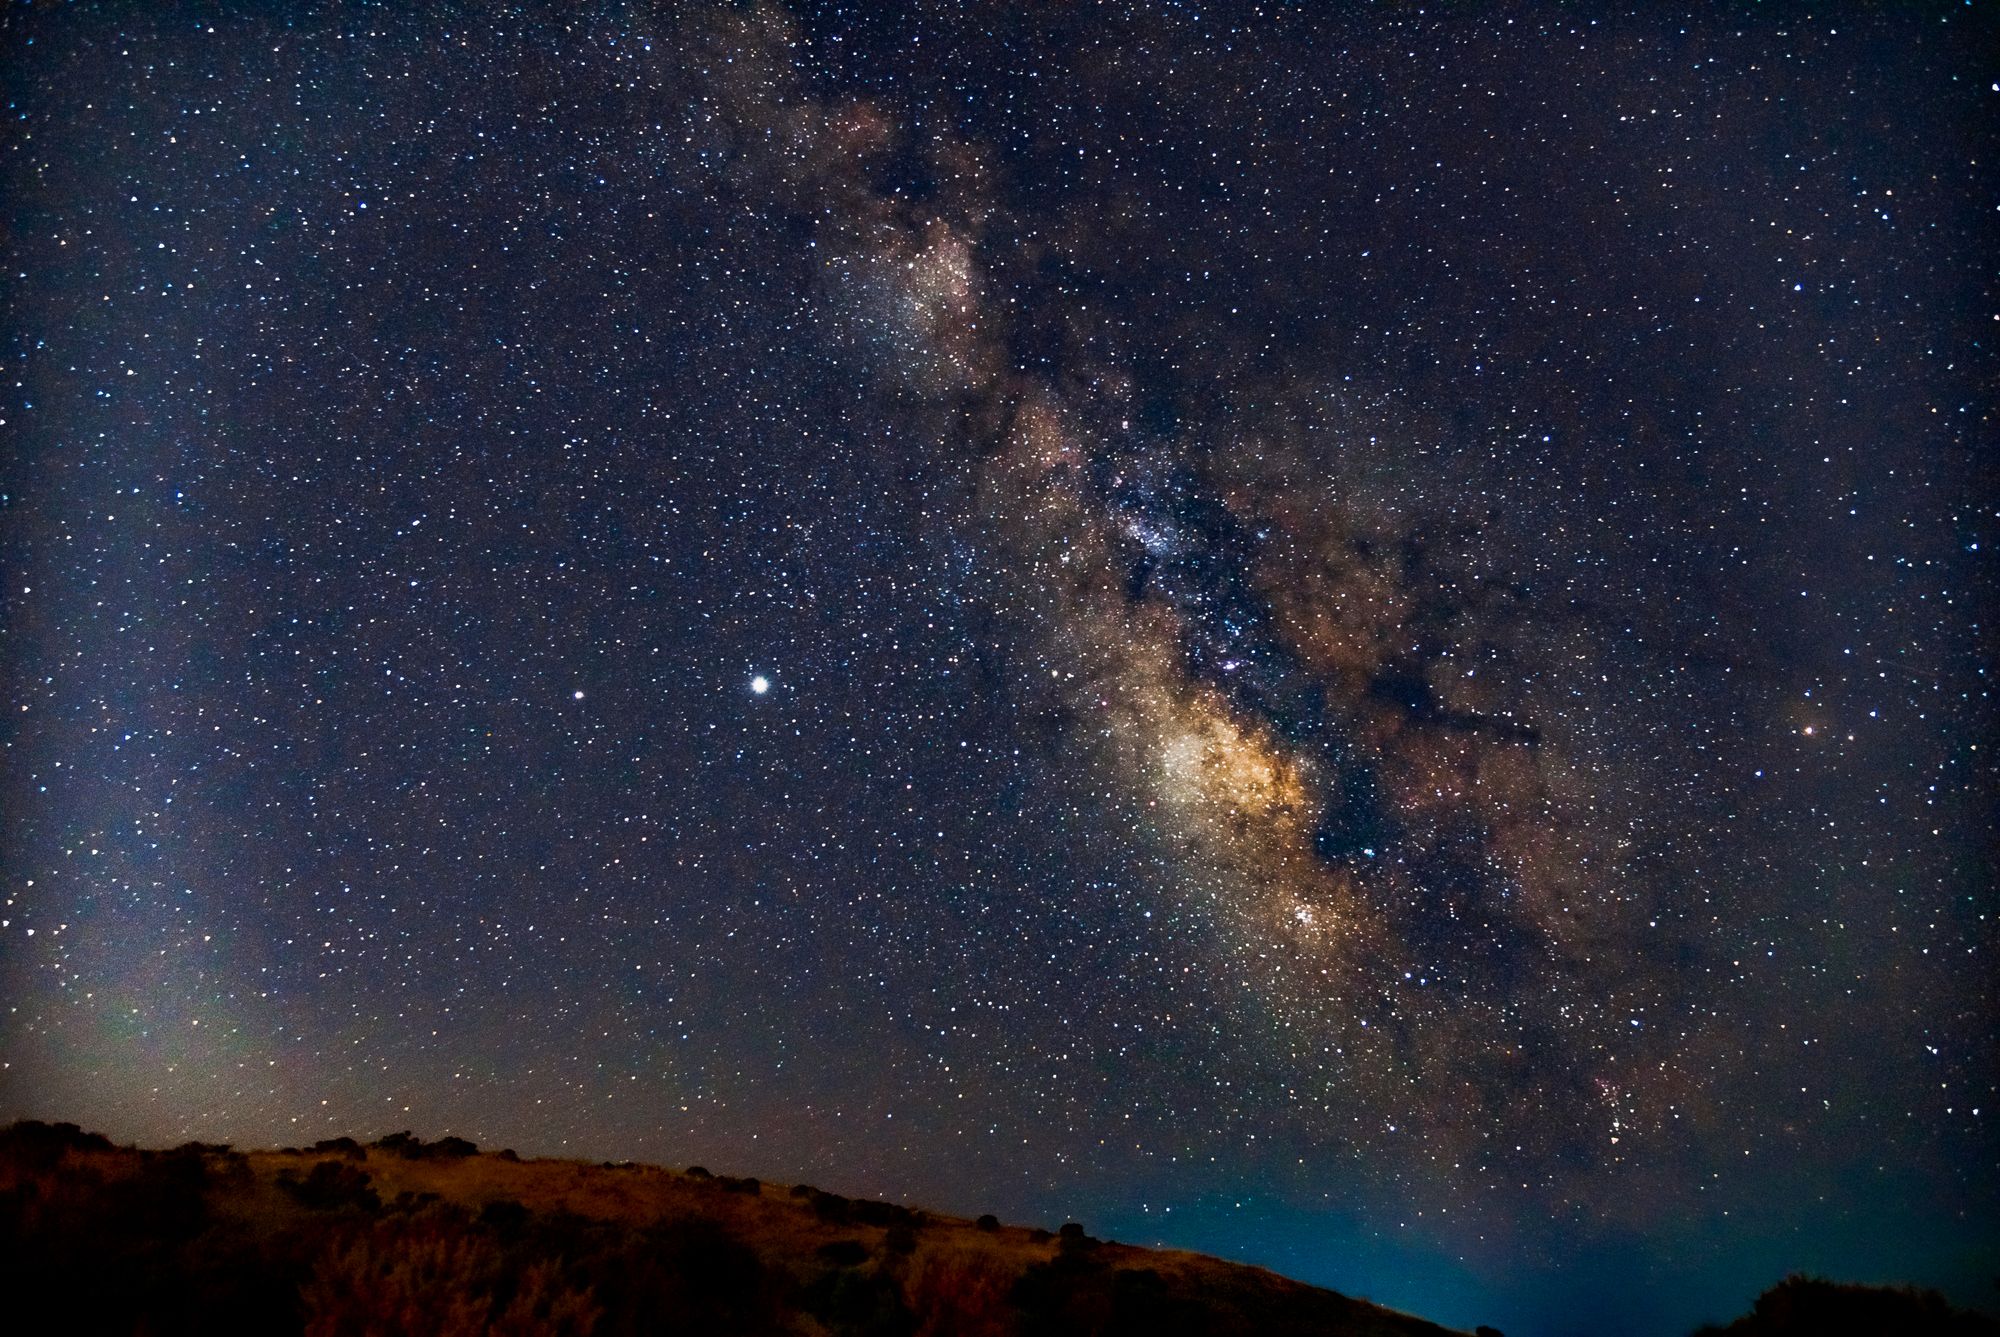
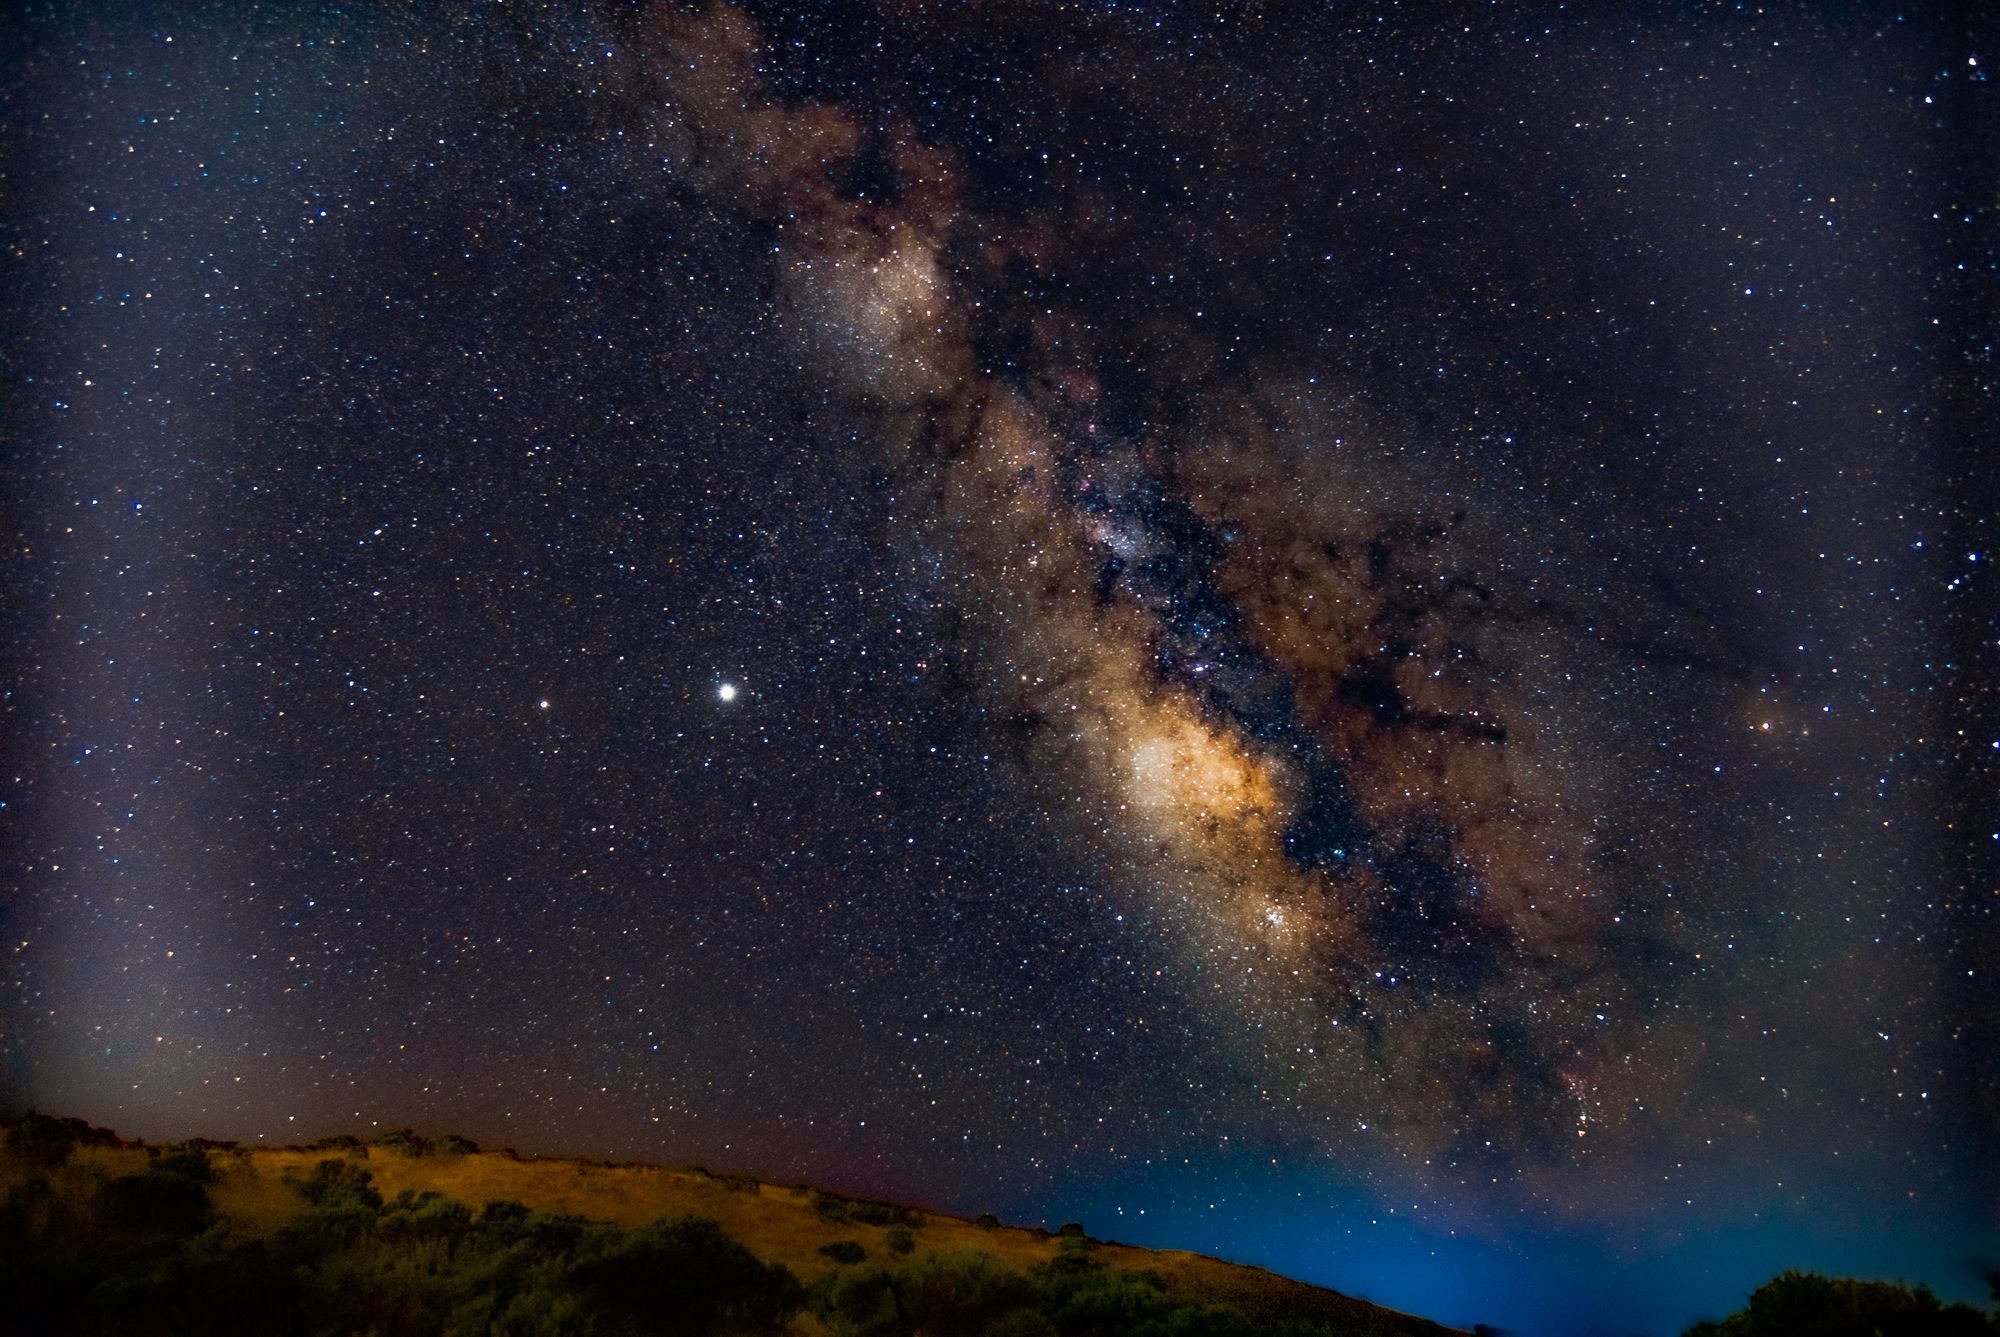
On each of the images I focused on a different aspect: the foreground, the bright yellow cluster, and the nebulous purple area. Additionally, the 2 standout stars on the left are Jupiter and Saturn.
I also posted these photos on my Instagram:
I can’t wait to go again! This time with better circumstances, better equipment, and hopefully to a more exotic location— I’m looking at you Mount Diablo!